3dPrinting

3D Printed: 3D Printer Tool Storage

One of the most enjoyable functions of a 3D Printer is printing things that you only need to print because you have a 3D Printer, such as my recent grille holder-opener.

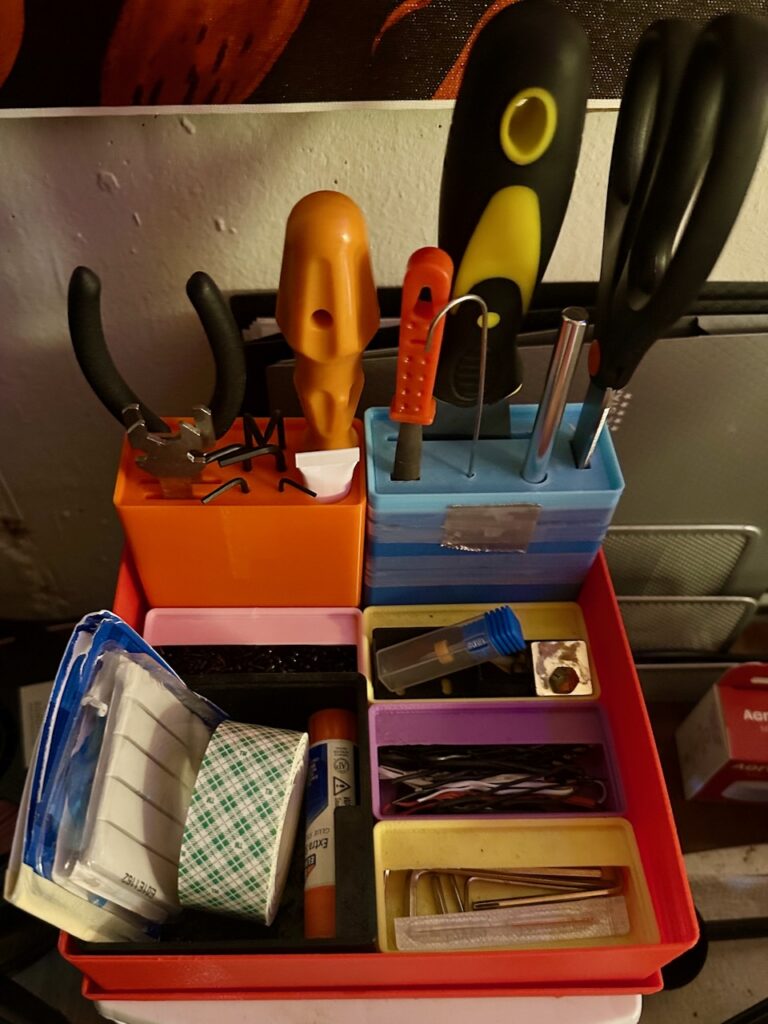
While I haven’t printed many actual modifications to my printers themselves, I have printed a pretty good set of storage bins for the various tools and spare parts that I have for working with my printers.

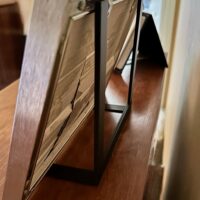
Originally, I had made about an 8-inch square box, 2 inches tall, with a lid, and I just let all my tools and parts rattle around in there. But then I came across the Gridfinity system. I started by printing a 4×4 base plate, which fit almost perfectly into the box. Then, with a variety of bins (see in the photo below), things got much more organized.

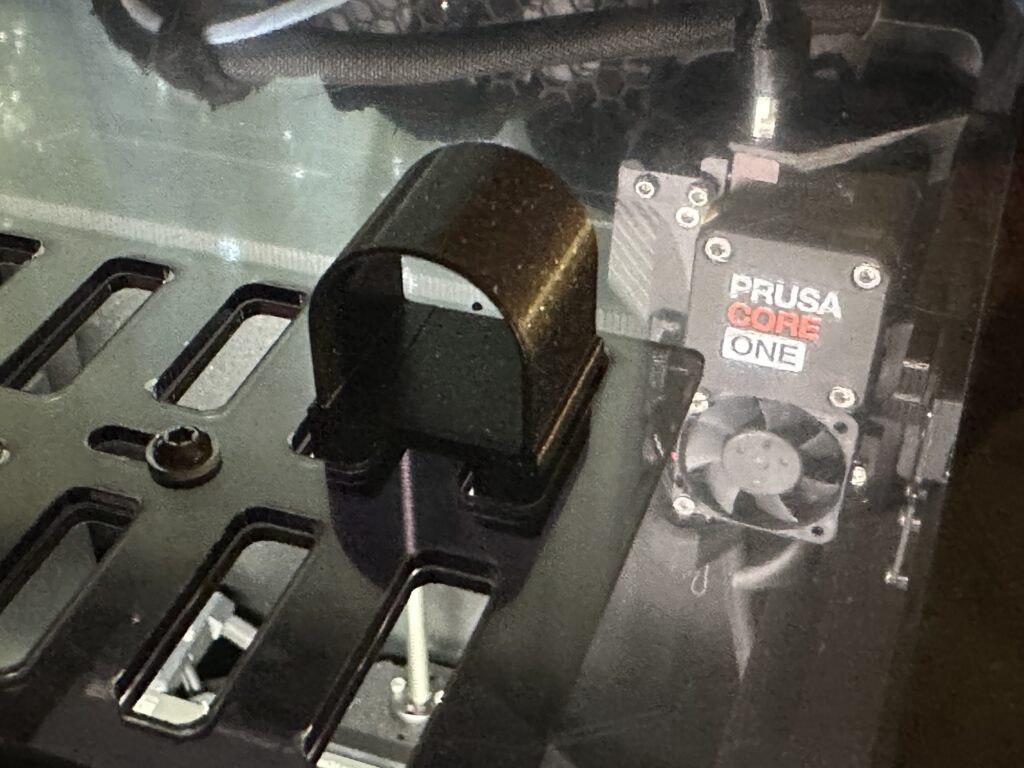
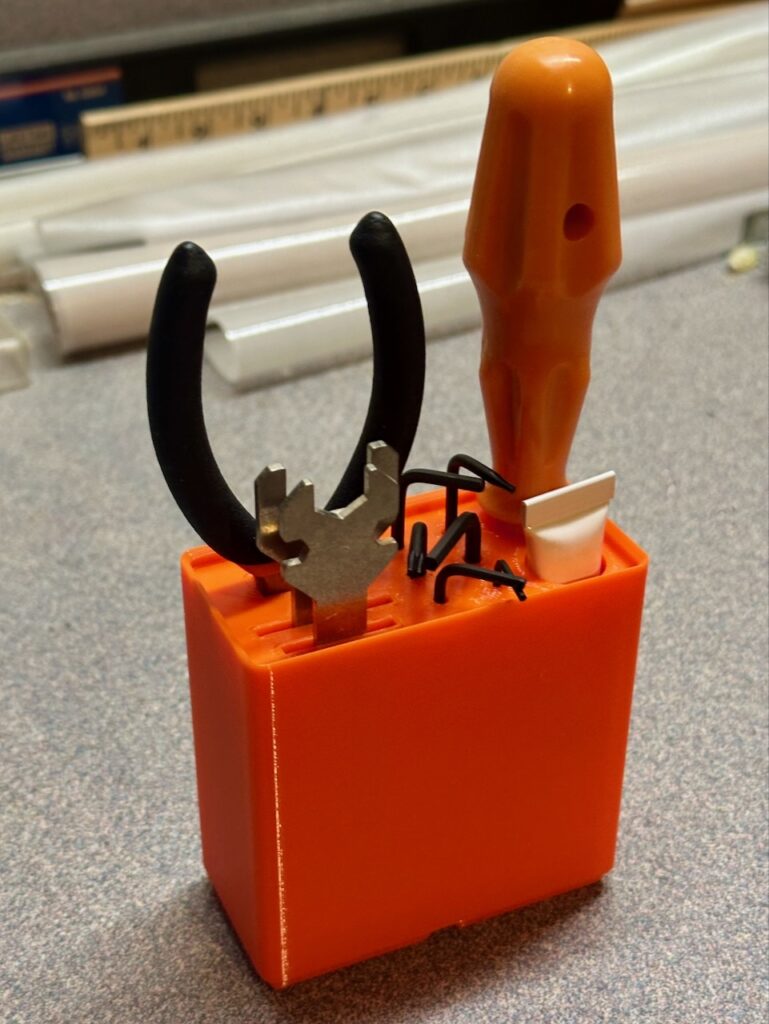
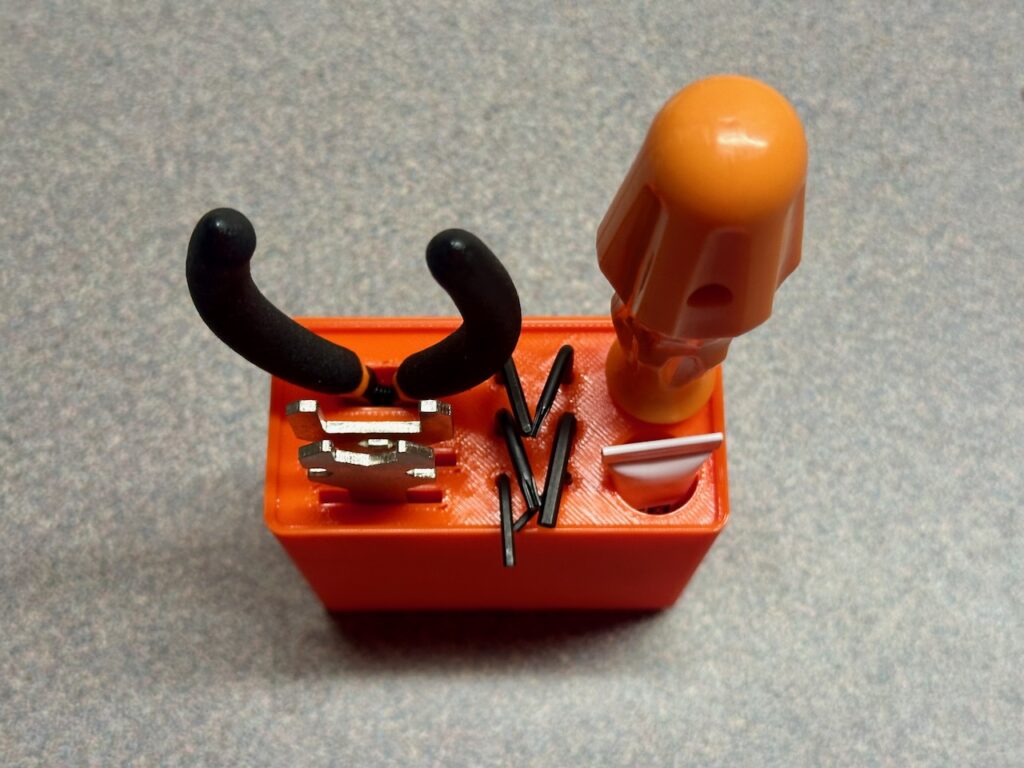
The latest piece I added to this collection is the first one in the collection that I printed using my CORE ONE printer. When I got that printer, it came with a number of tools that I needed to keep organized, which meant I needed a new holder for them.

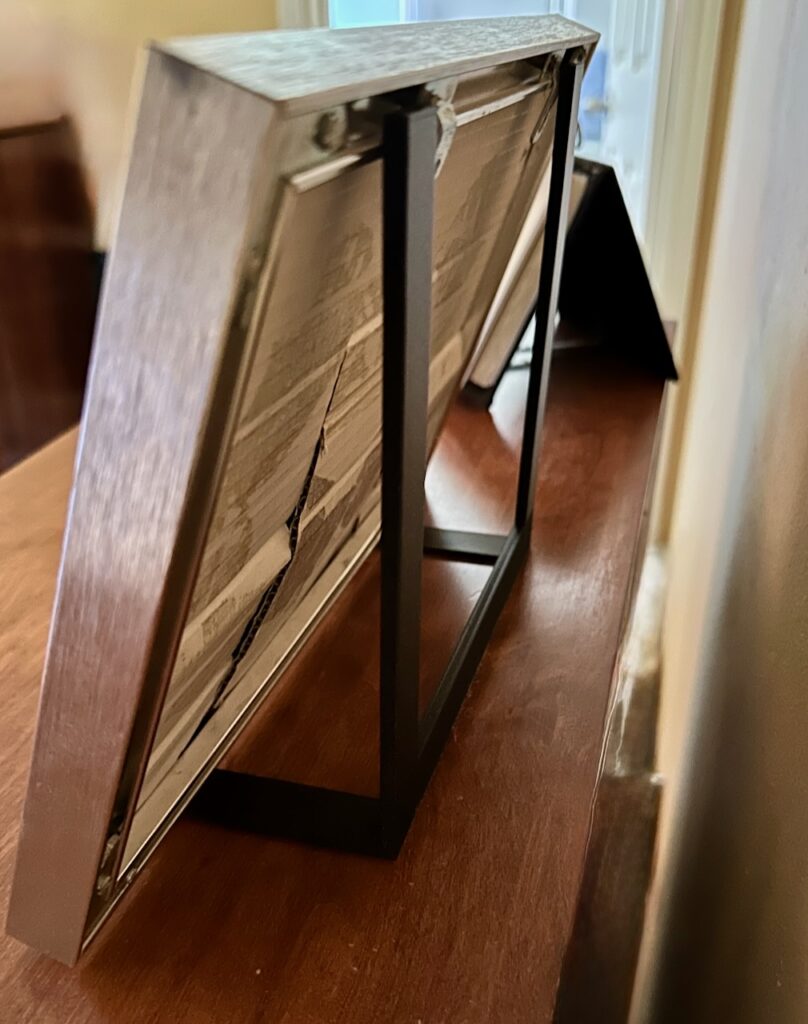
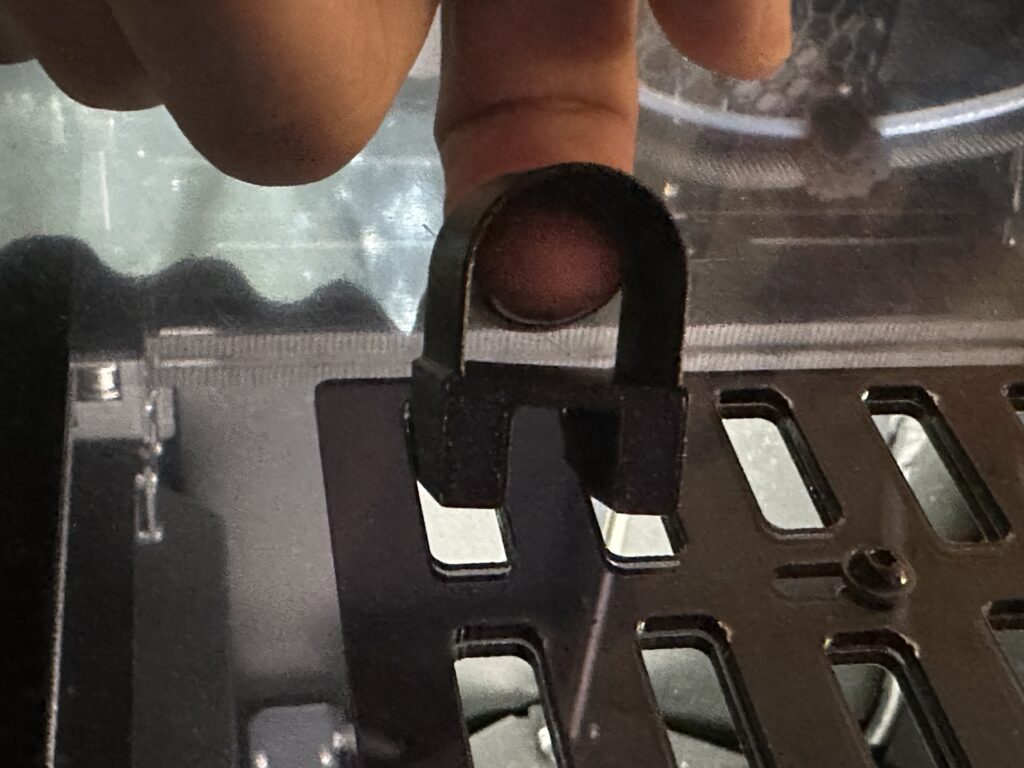
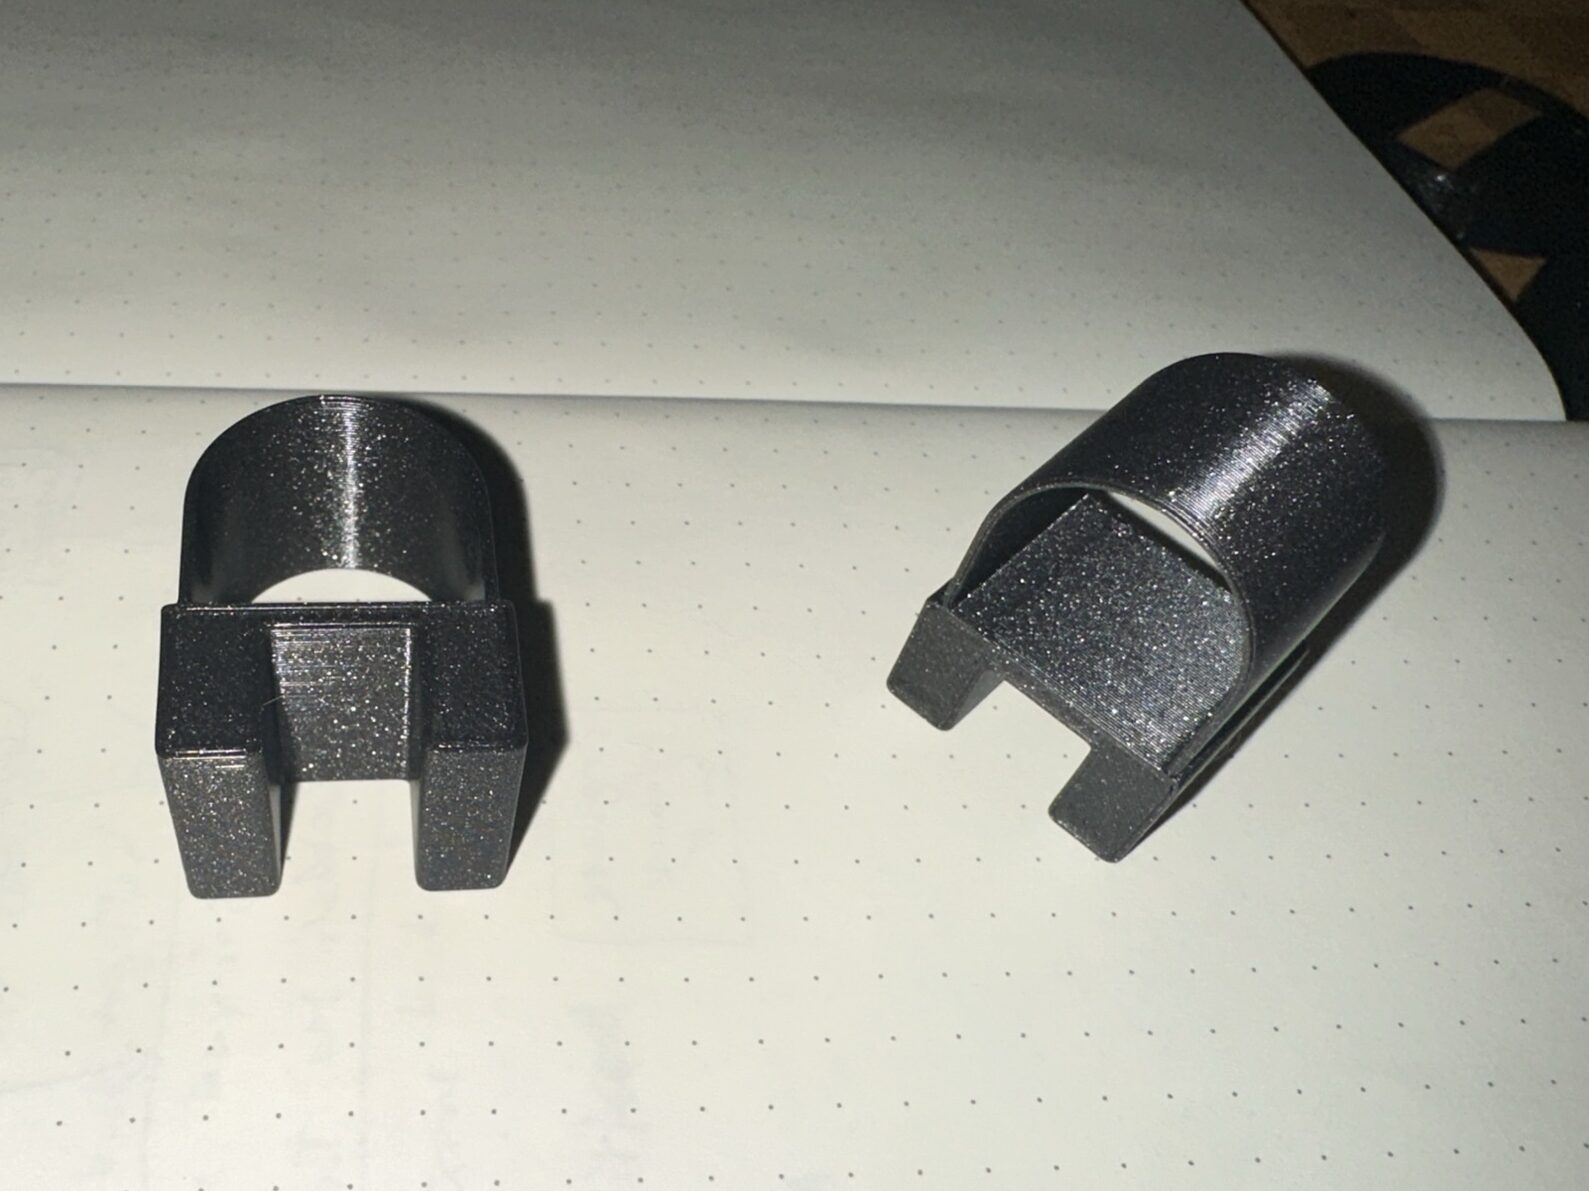
For this model, I took an existing Gridfinity 2×1 block and modified it somewhat extensively in Fusion 360. First I made it into a solid block, and then I sketched holes to match the sizes of the tools that I wanted to store in it. I then cut down through it the block, so that I could stand the tools up in it, as the following photos will show much more clearly than I’m probably explaining in words:

Here’s this new block added to the red box mentioned above, along with a similar block I’d made while I only had my old printer, plus several other smaller standard Gridfinity bins I’ve printed:

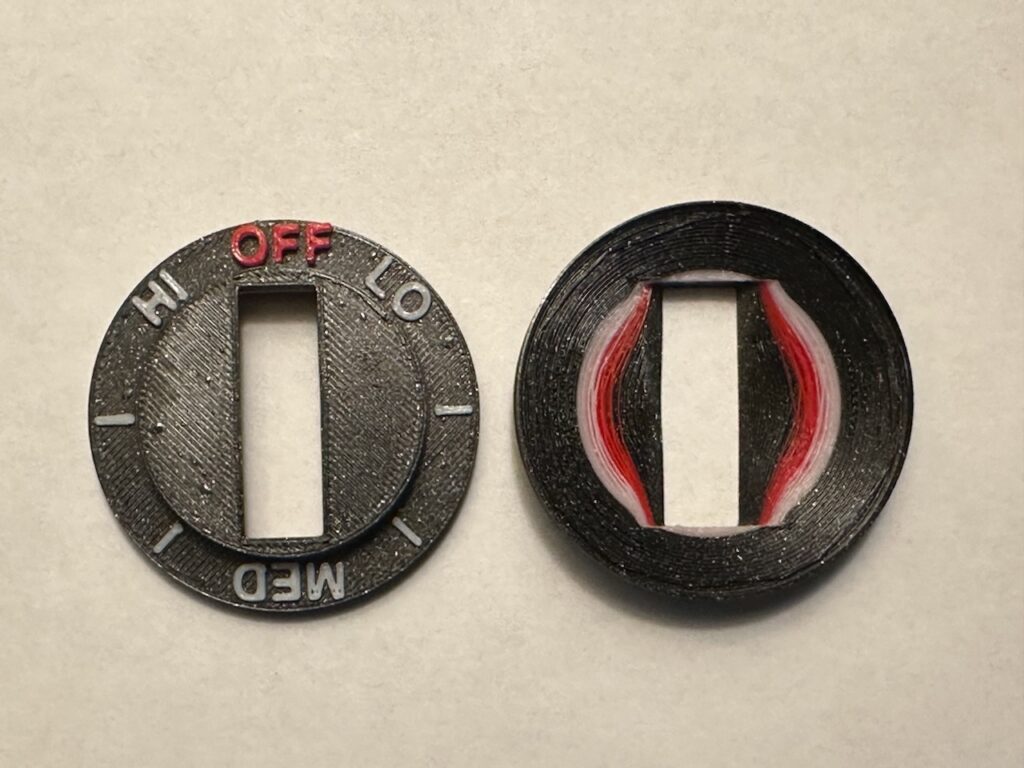
Here’s the STL. On the top you can see the extruded holes that the tools go into. If you flip it over, on the bottom you see the Gridfinity “feet” that fit into the base (inside the red box).

"3dprint-tall-tool-holder-no2"

View 3D Model on article page...

I actually had to print this piece twice, as the first time, a couple of the holes were a little too small. The first time I printed it, I took a time-lapse video, which is my first time doing that! You may notice the colors were different in the first print (on the video) – I’m just trying to use up all of the original multi-color pack of filament that I got back around 2017 – a lot of it has gotten pretty brittle and not the best for printing with anymore, but I’m too cheap/pack-ratty to throw it out, hence, random parts around the house will get it!

  • 2025-07-22

3D Printed: Picture Frame Stand

We’ve had a picture frame in our bedroom for about 18 years. And for about 17 of those years, the flimsy little piece of cardboard on the back of it that’s supposed to make it stand up has been all bent and weak and generally unable to do its job. Various attempts to fix this in the past have involved copious amounts of both duct and masking tapes, plus… paint stirring sticks??

Good grief – this is clearly a job for a 3D Printer!

"picture frame stand"

View 3D Model on article page...
  • 2025-07-10

3D Printed: printer grill holder-opener

This one was kinda hard to name… but my new Prusa CORE ONE 3D Printer has a little grill on top, that you slide open or closed depending on what kind of material you are printing, to help with temperature control inside the print chamber. But since I’m always using PLA, it’s always supposed to be open. Once I guess I accidentally bumped it and closed it, so I thought I should like to put something in the grill to keep it open.

"CORE ONE top vent holder-opener"

View 3D Model on article page...
  • 2025-07-05

3D Printed: Stove Handle Covers

For the last several years, every time I’ve used my stovetop, I’ve had to mostly guess what temperature I’m setting it at. This is because the paint on the handles (or knobs) that indicates HI, LO, or OFF has long-since rubbed away.

Of course, I mostly know what they’re set at, because I’ve been using this stove for close to 20 years, and I just remember things like that pretty well. But, as my youngest kiddo has started cooking some recently, I realized that they didn’t have the benefit of my memories, so it was a problem that I wanted to fix. I had previously tried finding some replacement handles online, but, I had no luck, as it’s a pretty old unit. So, 3D Printing to the rescue!

I didn’t actually print complete replacements for the handles. I found that a bit too difficult to model, as the peg that they go on is a pretty complicated shape – not just flat on one side like I’d mostly seen when shopping for replacement handles online. Rather, I’d describe it as more of an angled “H” type shape. Maybe I could have done it, but, instead I just printed circles that would fit over the existing handles, with white and red markings.

Here’s the model:

"stove handle overlay"

View 3D Model on article page...

(also, thank you to Cursor for writing this new STL model viewer for me… It took several rounds of adjustments, but net-net, had to be faster than trying to write it by hand!)

  • 2025-07-04