I’ve been near-sighted since I was about ten years old. But here in my mid 40s, now my up-close vision is starting to falter too. I tried progressive lenses a few years ago, but didn’t really like them.
Anyway, one of the main things I have to hold farther away from my face to see all the time, is my iPhone. So, a couple days ago I activated the text-size setting, bumping it up just one level (110%), and boy, it’s a really nice quality of life improvement. So glad I’ve done it. Time to do the Apple Watch next.
I used to buy some box of frozen mashed sweet potatoes. They had some kind of sweet something mixed in them, and a crumbly pecan topping. They were so good! But I haven’t seen them at the grocery store for like a year or so, which made me sad.
But at the store this weekend, my little Vanessa saw all of the sweet potatoes that they had out for Thanksgiving, and she asked what they were, saying that they looked strange. So I grabbed one, knowing that I like them, but not knowing how I’d prepare it.
Designed by Freepik
Now when I was a kid like she is now, I didn’t like sweet potatoes (for some reason!). My mom always made them very well, but they were a taste that I just didn’t like. Lucky for me though, I did somehow acquire a taste for them as an adult.
Anyway, I just googled for mashed sweet potatoes, and it was pretty easy to make one: I peeled it and cubed it, then boiled it for about 15 minutes, until I could smash it with tongs. Then mashed it with a fork, mixing in a little milk, butter, and (real) maple syrup. Then I made a little crumb topping with melted butter and brown sugar, and voila!
It was so easy, and pretty much just as good as the frozen ones I used to love, so I think I’ve got a new regular menu item for cooking. Which is nice.
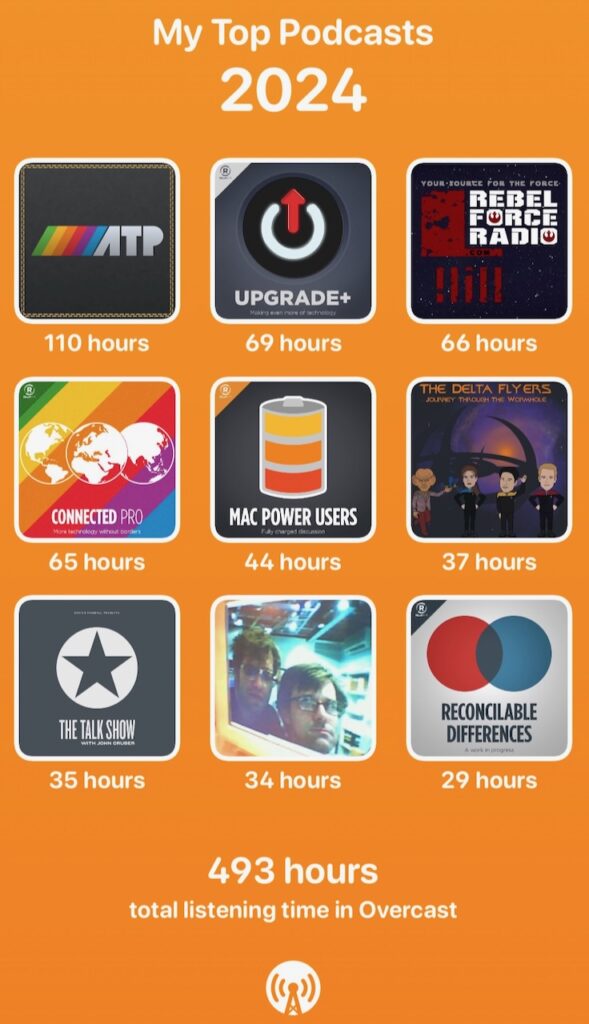
The Overcast app (my podcast player of choice) got a new feature last week: The ability to show you how many hours you’ve listened to each of your shows over the past year. Here’s my top-9, in a fancy image that Overcast produces:
I feel it’s my duty to correct an entry I made here a few weeks back, re: my electric kettle’s stay-warm feature oddly “breaking”… turns out (and maybe this isn’t a surprise to anyone who knows me well), it was just me that “broke”. Somehow, after using this kettle for something like six months, on the day in question above, I randomly forgot how to use the stay-warm timer. Instead of clicking the button and then turning the dial to increase how long it should stay warm, my brain decided that morning, to repeatedly press the button. Which isn’t ever how it worked.
Anyway – good news – my kettle keeps my coffee water hot for as long as I like now – so my second cup comes out faster during my working days.
I got a new pair of glasses from Zenni Optical last Friday. For awhile now I’ve been looking for a smaller (but not too small) circular lens – kinda going for the Steve Jobs or John Lennon look. I think this pair has nailed it. I’m pretty happy with how they look, which I think is a little unusual for me.
I continue to be shocked how inexpensive glasses are at Zenni. These – were under $60, even with a bunch of special magic options (which yes, probably do nothing) added to the lenses.
And – since they’re so price-effective, when I realized that I accidentally ordered a -4.75 instead of -4.25 for my right eye, I didn’t even mind just ordering a second pair. I thought I could tell the right eye was a little off, so I guess it’ll be better when I get the strength that the doctor ordered?
Oh – and I have 2 old pairs (plus whichever of these is less good to see through) that I’m going to donate to the Lions. Because (1) I heard someone recently say how they used donated Lions glasses when they were a kid, and that made a difference in their life, and (2) because I feel more and more compelled to give more and more back to the world recently, and what a small thing that is – to donate glasses that will otherwise just sit in my drawer unused.
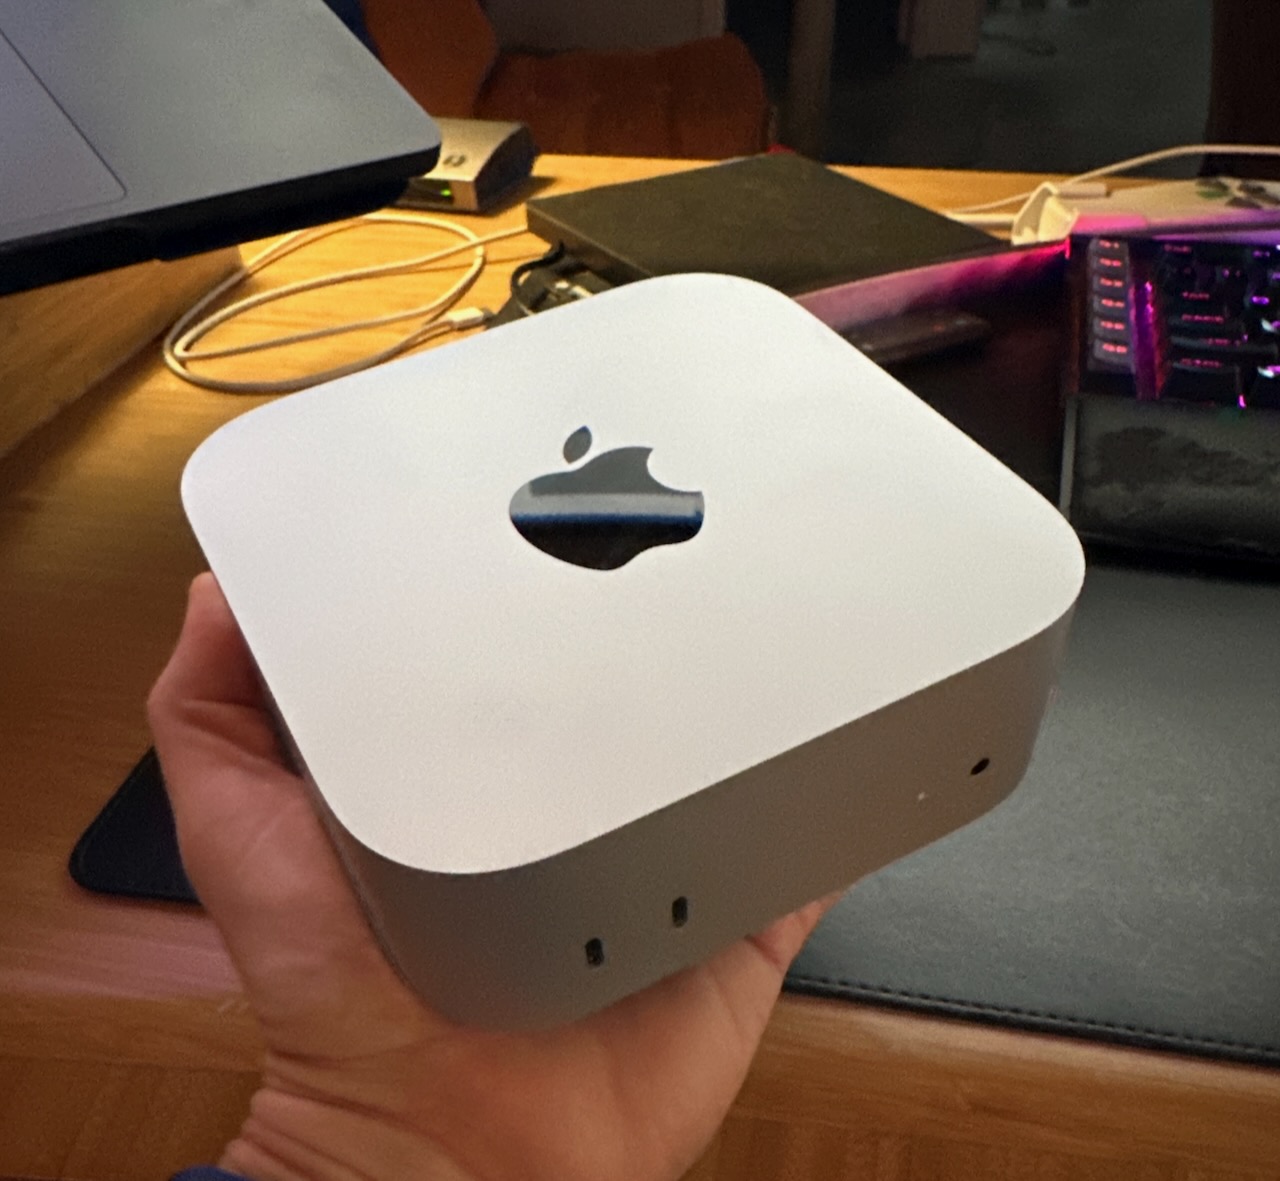
On Friday, 2024-11-08, I got a new M4 Pro Mac Mini 🙂
My intention was to use this machine as a home server, primarily for backups, but also for, idk, any servers I might want/need to run – such as Home Assistant, Octoprint, and/or any personal apps I build.
I recently picked up a 4TB Samsung T9 SSD, which is plenty big (by almost 2x) for my current backup needs.
I had been backing everything up to a Synology, and then from there, offsite via Backblaze B2… but my bill for that service keeps growing (as it does), and just past $40/month! By switching to this Mac Mini based approach, I can use Backblaze’s single-computer = $99/year plan, and … eventually the Mini + SSD will pay for themselves 😉
And in the mean time, I do have a suuuper fast new Mac here. I’m trying hard not to switch my daily-usage to be on the Mini… Build times for my main work app were about 50% of what they are on my M1 Max MacBook Pro — not that it’s ever felt slow to me. I think I’ll stay here for now, and try to just let the mini do the job it was bought for.
A month ago (or six months? who can tell), Timmy mentioned getting a tray or rack or other kind of “mount” for his MacBook, to elevate it, and keep it off his desk. At least, that’s the story I heard. I thought it was interesting, so I Amazoned for one for myself (side note, Google became a verb, but Amazon didn’t? I think it’s high-time we fix that).
Anyway, I had one in my cart for some number of months (see above). And I finally pulled the trigger last night, with overnight delivery – so, now my MacBook Pro is flying too 🙂
Not entirely sure why I did this? Maybe it was because my Mac Mini which is coming today might temporarily live below my MacBook?
Or maybe it was to correct this serious alignment issue that I had been dealing with for like 3 years now:
A couple of nights ago, when it was raining like crazy here (my 8-inch rain-gauge was overflowing!), our power went out for a second around 5AM. Not sure if this is just coincidence, or if there’s a causal relationship here, but later that morning, my electric kettle would no longer let me press the “warm” button multiple times to set it to stay warm for a longer period. That is to say – it used to be, each time you hit that button, it would add 30 minutes to the “stay warm” timer. Now, when I hit the button it puts up a 30 – but hitting it again, just deletes the 30. I only thought about a possible connection between the power-fail and this change in behavior because, whenever the kettle loses power, it forgets that I want it in “quiet” mode – so when i first turned it on, it was beeping at me, which made me think about the fact that it had lost power. Then, when I saw the change in behavior on the stay-warm function, I wondered if those thing were related. I did un-plug, wait 10, and re-plug, to see if that would fix it, but, no dice. :shrug:
Well, after 25 year of being a programmer, and around a decade of being an ever more all-in Apple fanboy, I’ve finally allowed those worlds to merge a bit, and I’ve published my first app on the iOS App Store!
Oh, I’ve had many half-baked ideas for apps over the years, but one issue had always been, that I’d never quite learned the specifics of how to do iOS development. I also played a role in a few apps that my teams built over the years, for MMLT and Infoplus, but none of those were ever truly *mine* from start to finish.
(humble brag? I did get through both of those tutorials in well under 100 days… I think that 100 number is meant for if you’re just starting out as a programmer – not a distinguished engineer as myself :lol:)
That eliminated my excuse of not quite knowing *how* to build an iOS App. It left me with just not having an actual app to build, plus the inertia of being “at rest”, meaning I’d never actually built an app from “0 to 1” as they say, and gone through the process to publish it to the App Store.
But over the past few months, I finally had a use case come up that would actually be useful to me, at least on a daily basis, that I think could potentially be slightly useful to others, and that was of a scope that I knew I could tackle at this point in my life.
I’ll avoid the gritty details of “why” this need exists, but suffice it to say that, virtually every day I am asked to perform a time-based calculation, which generally takes the form of:
Point-A to Point-B = Interval-C
Interval-D minus Interval-C = Interval-E
Point-C plus Interval-E = Point-D (which is our desired answer)
For example:
11:47 to 12:26 = 39 minutes
4 hours minus 39 minutes = 3 hours 21 minutes
1:18 plus 3 hours 21 minutes = 4:39. QED.
It’s not fun to do that math in your head (heck, for me, it’s barely possible!). It’s a little easier to do on paper, but then, who has that much paper just lying around? I’d like to do it on my Mac or iPhone, but what app do you use for that? Doing it in a regular calculator app is just about the same as doing it in your head, thanks to all the number-bases and intermediary values. So I searched the App Store for Time Calculator apps, and let’s just say that none of the results were satisfactory for me.
Therefore, as a programmer, I wanted to solve the problem by writing some code. And having recently completed the Swift tutorials mentioned above, I was ready to build my own app. The pieces were starting to line up for something good!
So I wrote some code! It was lots of fun, and I think I took an okay approach, both in terms of the structure of my Swift and SwiftUI code – several discrete views, a completely isolated model – unit tests on the models, and a heavy dose of Swift enums, that I used to implement a finite state machine, to manage the parsing of user-keyed time equations, as well as the enabling and disabling of all buttons on the calculator screen.
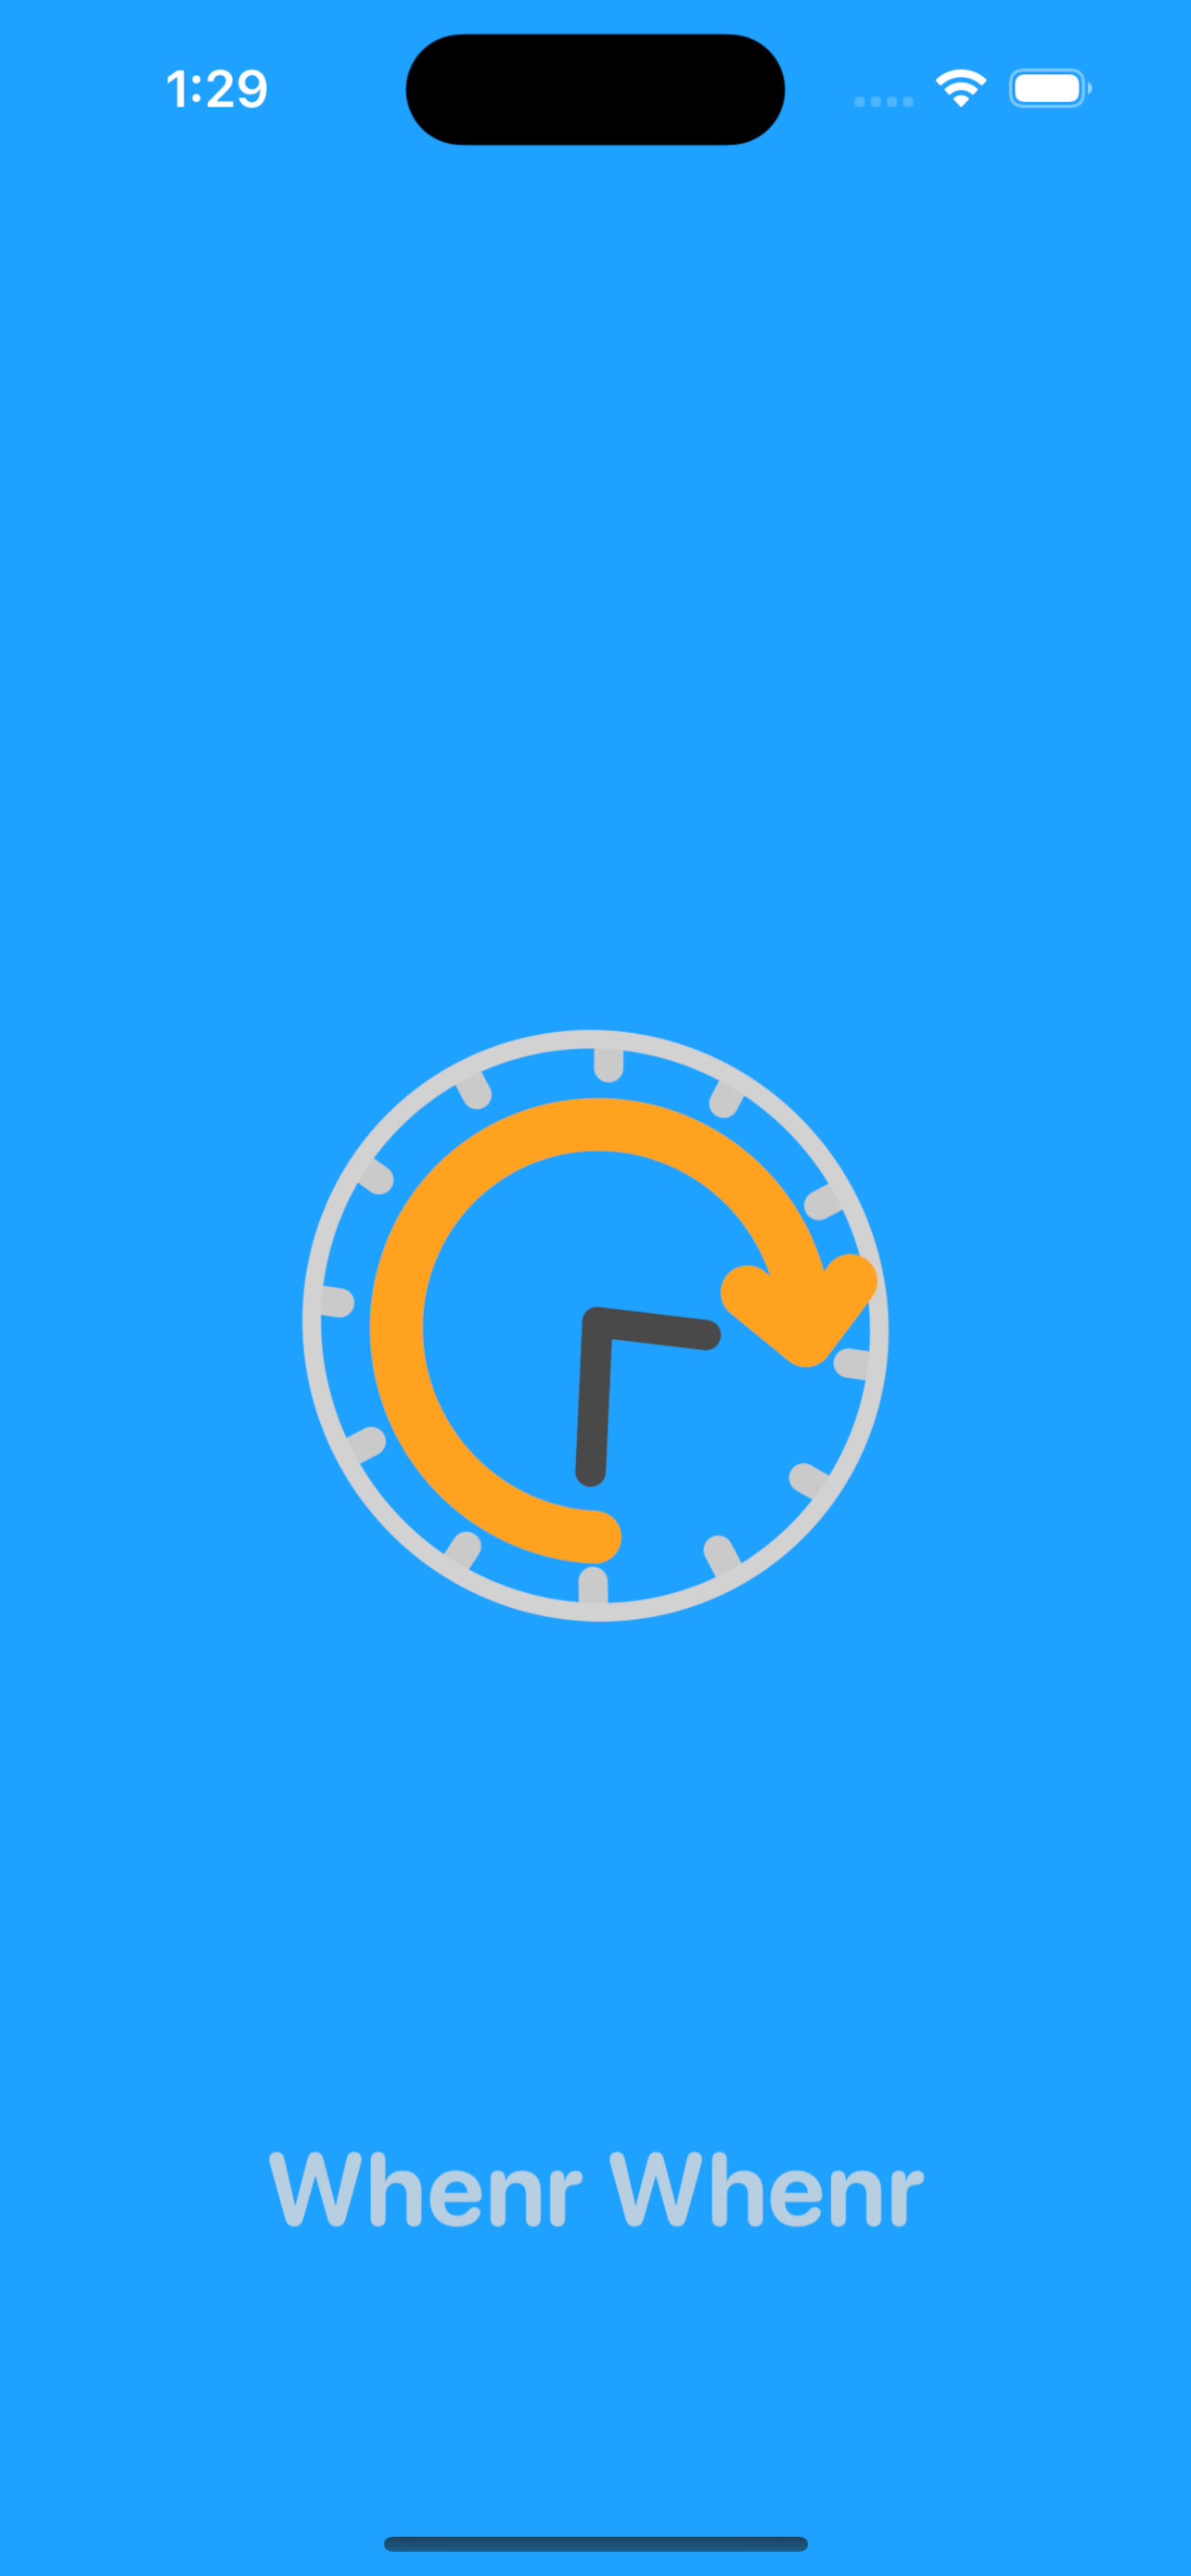
Wait, at this point, I should probably show what the app looks like. So, here are some screenshots!
That’s a fancy Time Calculator!Copy, Share, and Create RemindersDark mode support!Fancy animated Splash ScreenOnboarding / Tutorial screensSettings to force Light or Dark mode.
The last problem to overcome was one of the two Hard Problems™ in Computer Science: choosing a name (the other hard problems in CS being cache invalidation and off-by-1 errors). I won’t say I’m “proud” of what I ended up with, but I can at least say that it’s fun, and, by golly, I like fun things.
So my first App published on the App Store is officially named: Whenr Whenr
(to be me, and explain the thing that’s probably obvious… that name is based on the word “when”, but with an awkward ‘r’ appended onto the end, to ape a certain style. then it’s supposed to sound like “winner winner”, which reminds me of the fun expression “winner winner, chicken dinner“. ok, explanation time over, back to the blog)
There you have it. A rough tale about my first iOS App. Of course I’ve got a long backlog of things I might add to it some day:
Support for seconds and/or decimals
Support for Dates and Date/Times
Date and/or Time pickers (the standard iOS widgets for choosing, rather than keying the values)
Saving the Ledger; having multiple Ledgers; exporting the Ledger, naming and time stamping entries in the Ledger – lots of Ledger work.
Widgets… yeah, it should have widgets. And shortcut support – not sure how, but somehow. Oh, and to keep up with the times, Live Activity / Dynamic Island support! Heck, if it was just spinning the icon, that’d probably be sufficient!
Starting a timer (e.g., from the Clock app) from an Interval in the app.
But – I decided to finally “shoot the engineer and ship the app” today. Which meant I got to spend a whole lot of time making lots of images for App Store Connect… Not too much fun, but a nice change of pace I guess.
Oh, I should probably provide a link to Whenr Whenr on the App Store. It’s available for iOS, iPadOS, and macOS (for Macs running Apple Silicon, as it’s just the iPad version).